Views/Filters can be created so you can quickly return to a favorite view. If you want to quickly view tasks for a given client or tasks that meet certain priorities or status, a saved filter allows you to return to that view quickly, making task management more efficient.
Note: In the example below, we’re filtering on Tasks. You can also filter on the home page calendar, reports, milestone, projects, clients and invoices.
Save a View/Filter:
- First, customize the current view by selecting the desired filter options and clicking on the ‘Filter’ button
- Next, click on the link titled ‘Save this task filter’ at the very bottom of the listing
- Give it a name and click ‘Save’
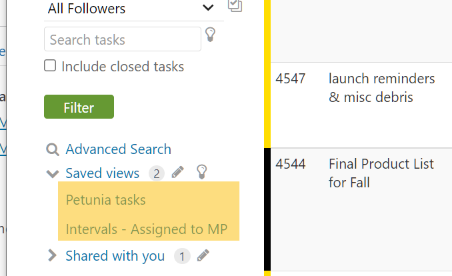
- Now that the filter is saved you can return back to this filter by expanding ‘Saved task filters’ and clicking on the saved filter you want to run
Run a Saved View/Filter:
- Click on the “Saved views to expand the list of saved views
- Then click on the name of the saved view to run it
Delete a Saved View/Filter:
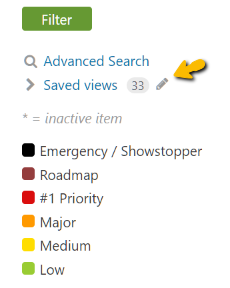
- Click on the pencil icon to launch the edit views dialogue
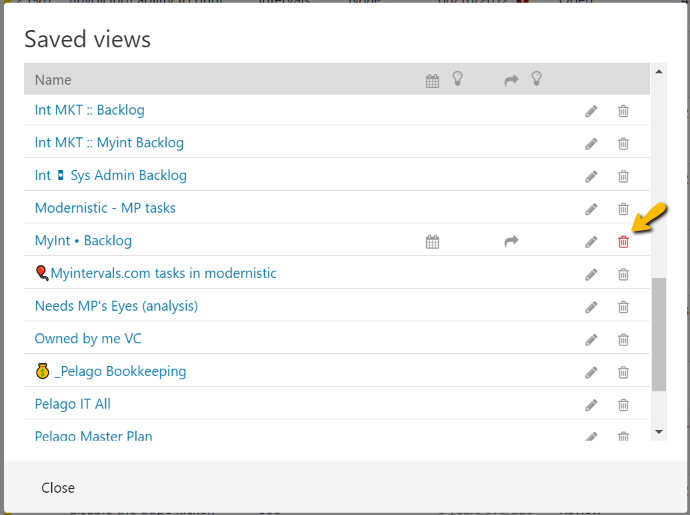
- Then, click on the trashcan icon next to the filter you want to delete
Replace an existing filter:
Currently saved filters cannot be edited, but you can modify the filter, delete it and save it again with the same name by following the steps below.
- Run the existing saved filter you want to change
- Delete the filter by following the delete instructions above
- Select new items to filter on and click the “Filter” button
- Save the filter, naming it the same as the one that was just deleted


