Curious where your time goes? Learn more about the best way to track time in Intervals.
Intervals features timers throughout the application. You can start a timer by clicking the play button (![]() ) on a task or on the General Timer in the footer:
) on a task or on the General Timer in the footer:
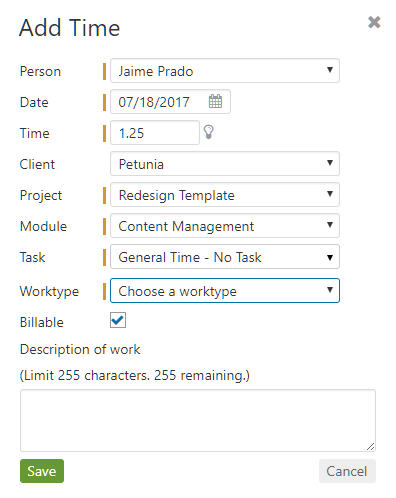
When you’re done, click “apply” to save the time and you will be presented with the popup below. Begin by choosing the client, project and category. If you were working on a task be sure to apply the time to the task.
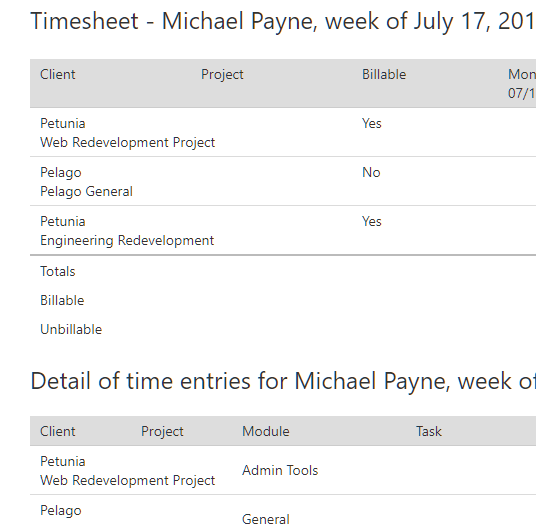
If you are working on something that has no specific Task, use a General Timer or manually add time directly to your timesheet via the mobile app. If you’re on the road, on the phone somewhere away from your desk, or simply forget to turn a timer on, don’t worry, you can always add time manually; either directly to your Timesheet:
Or to a Task:
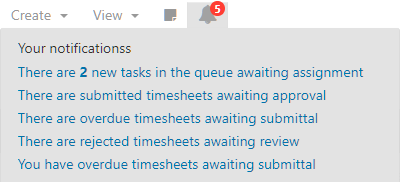
At the end of each week, Intervals will prompt you to submit your Timesheet for approval. It is a friendly nag meant to be a reminder to approve time, since tracking time is essential to your business.
And if you’re ever curious about who’s working on what, administrators can view Running Timers for your entire team or run a variety of reports (Reports will be discussed in more detail in a later session of the Getting Started Guide)
Advanced Tips:
- Right click to add time – time can be added to tasks on the home page and task listing by right clicking on them.
- Copy time entries – individual time entries can be copied on the timesheet and on tasks. Whenever you see this icon
 the time entry can be copied.
 - Add multiple time entries – multiple time entries can be added at one time by navigating to Time > Add multiple time entries.


