Detailed information such as category, work types, and time descriptions can be easily shared with QuickBooks or FreshBooks. This guide describes in detail how you can generate these types of invoices and also how to pull them into your bookeeping software.
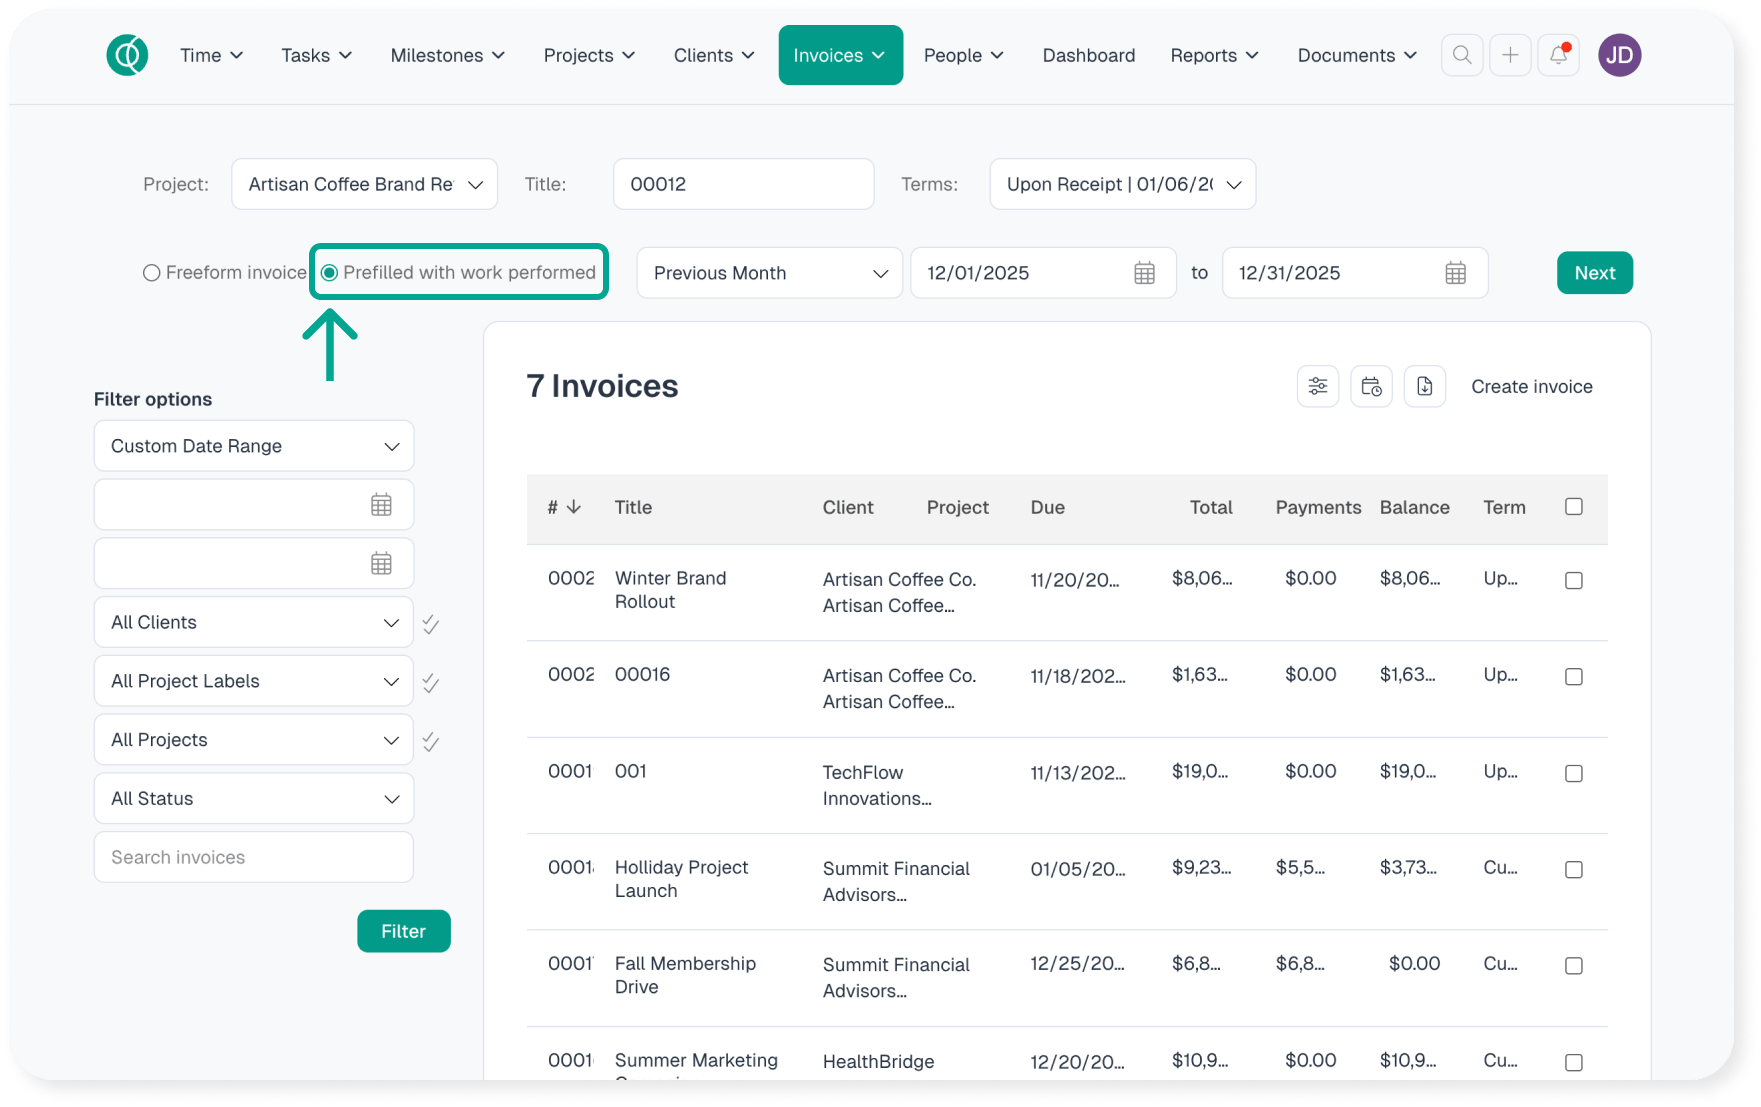
To start, create an invoice by selecting “Prefilled with work performed”:
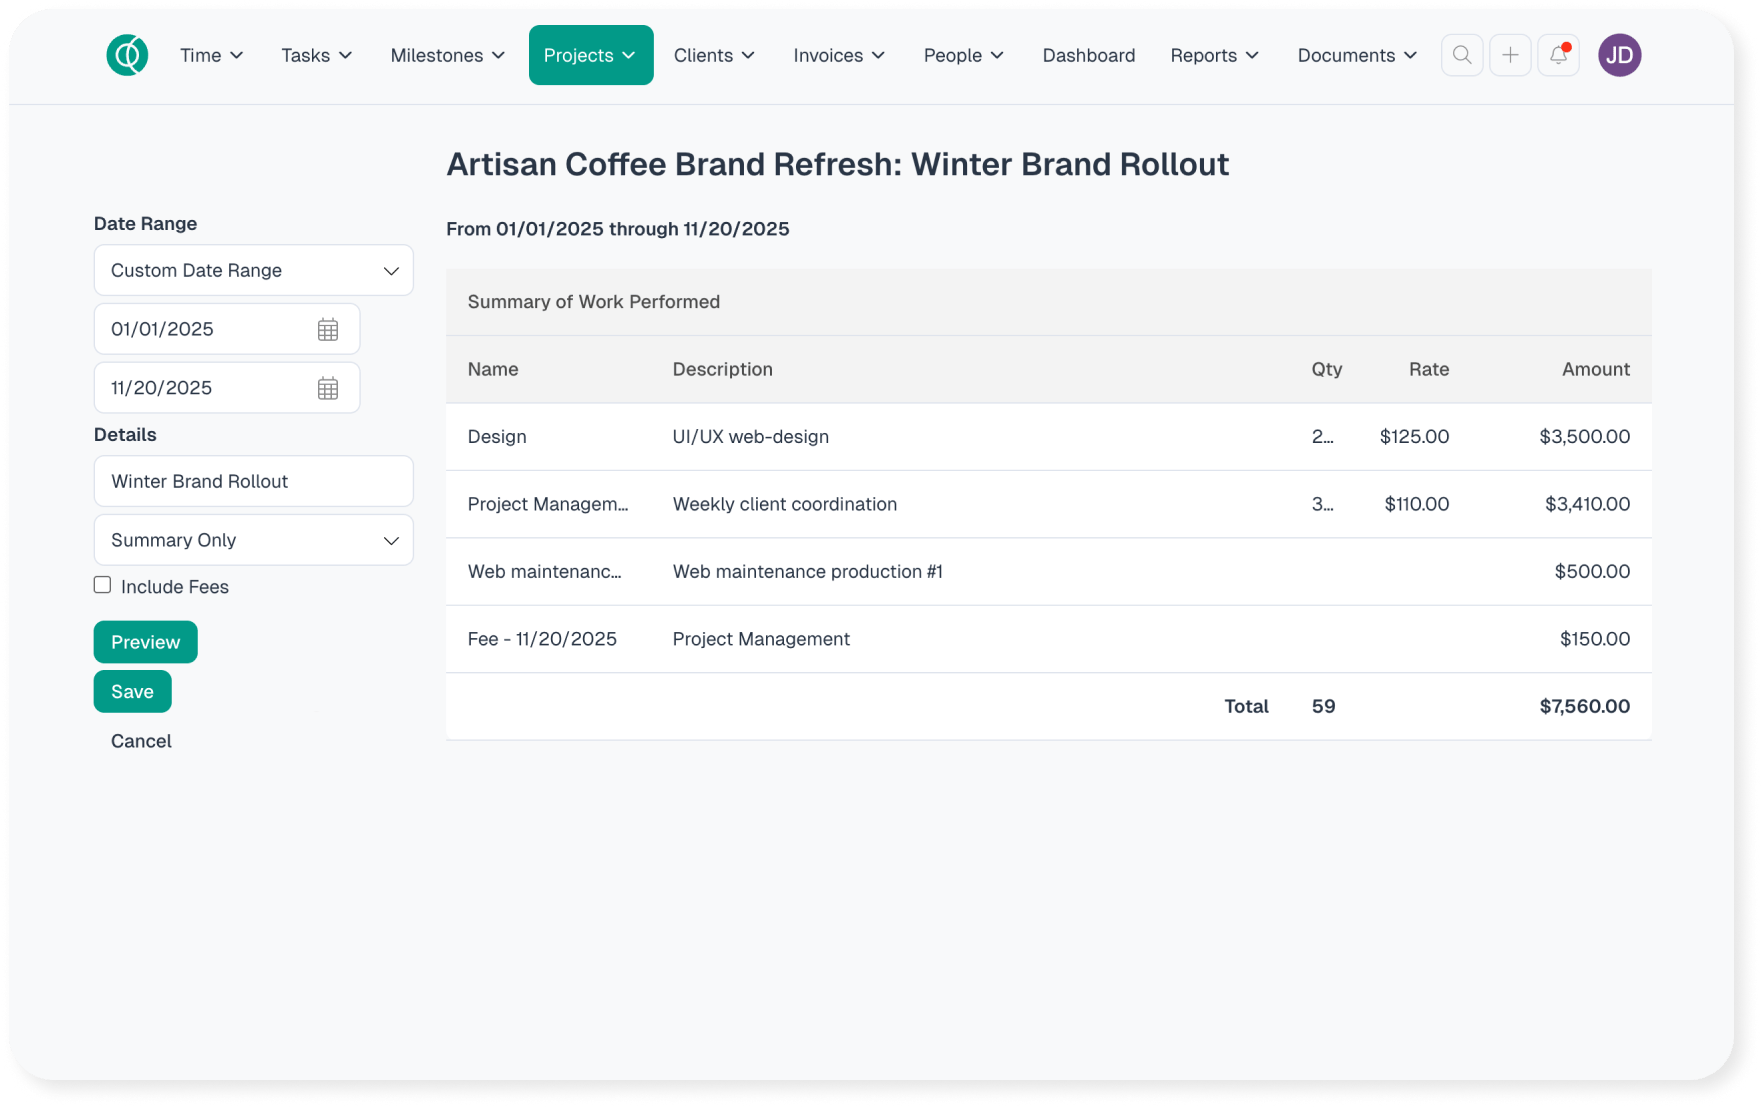
In the next step, the building of the invoice begins. This builder allows you to pull in data in many different formats. Here is the default view that is created for a sample project. The default view is “Summary only”:
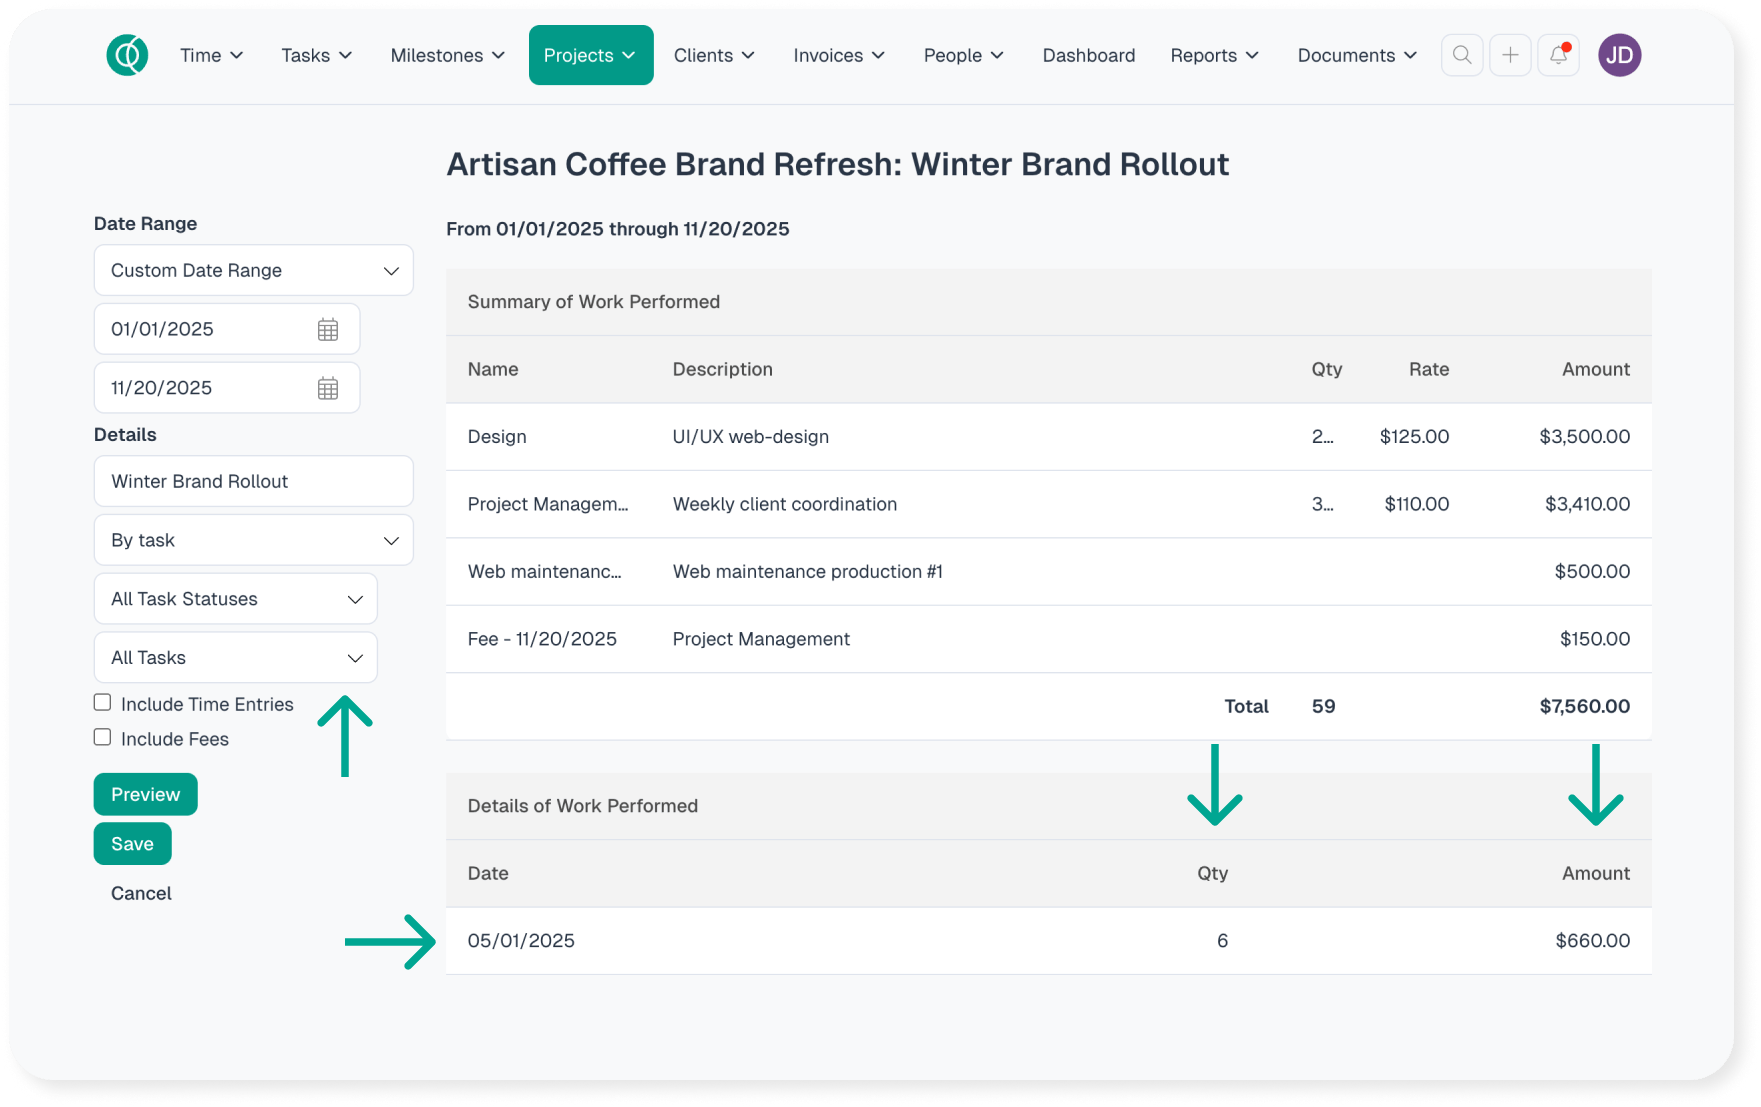
More information can be extracted from your project to describe the line items in different formats. In this example, picking the “View by task” pulls in the task information. The QTY column is the amount of time that was saved into the task, and amount is the dollar value for those entries.
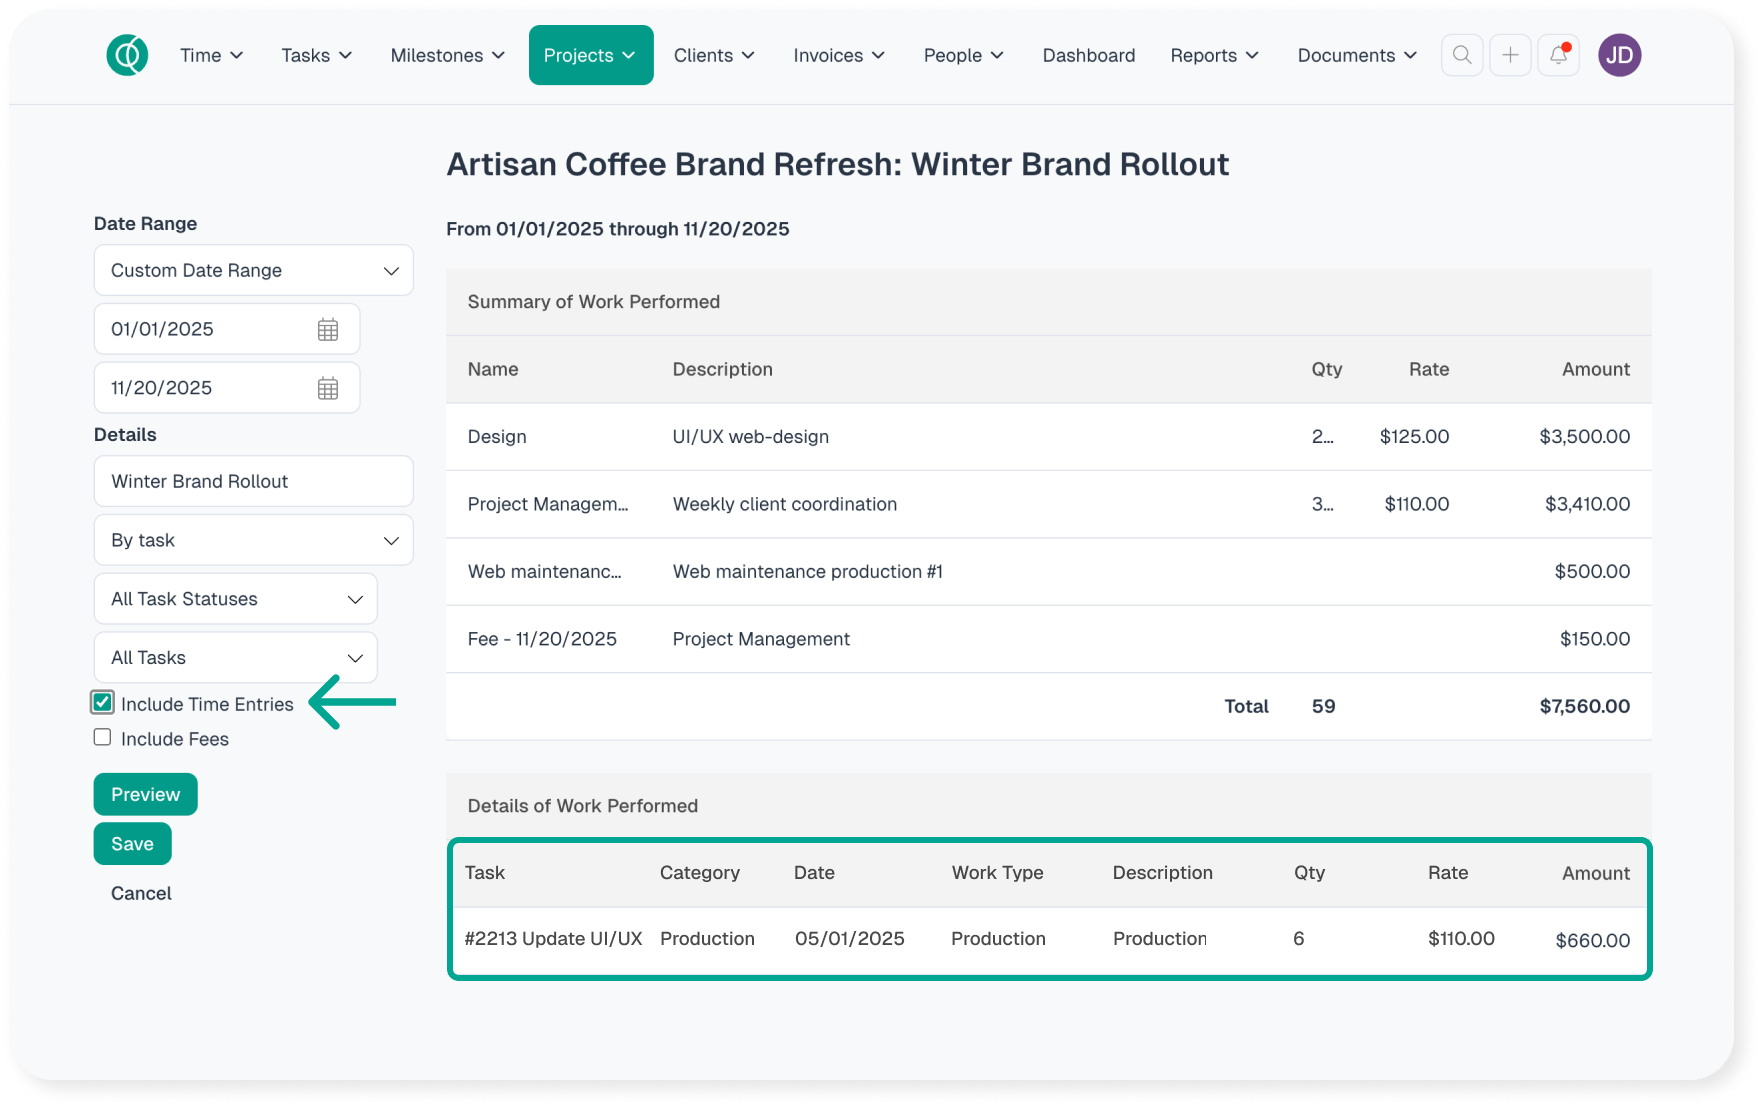
If you need to include time entries, check “Include time entries” to display it:
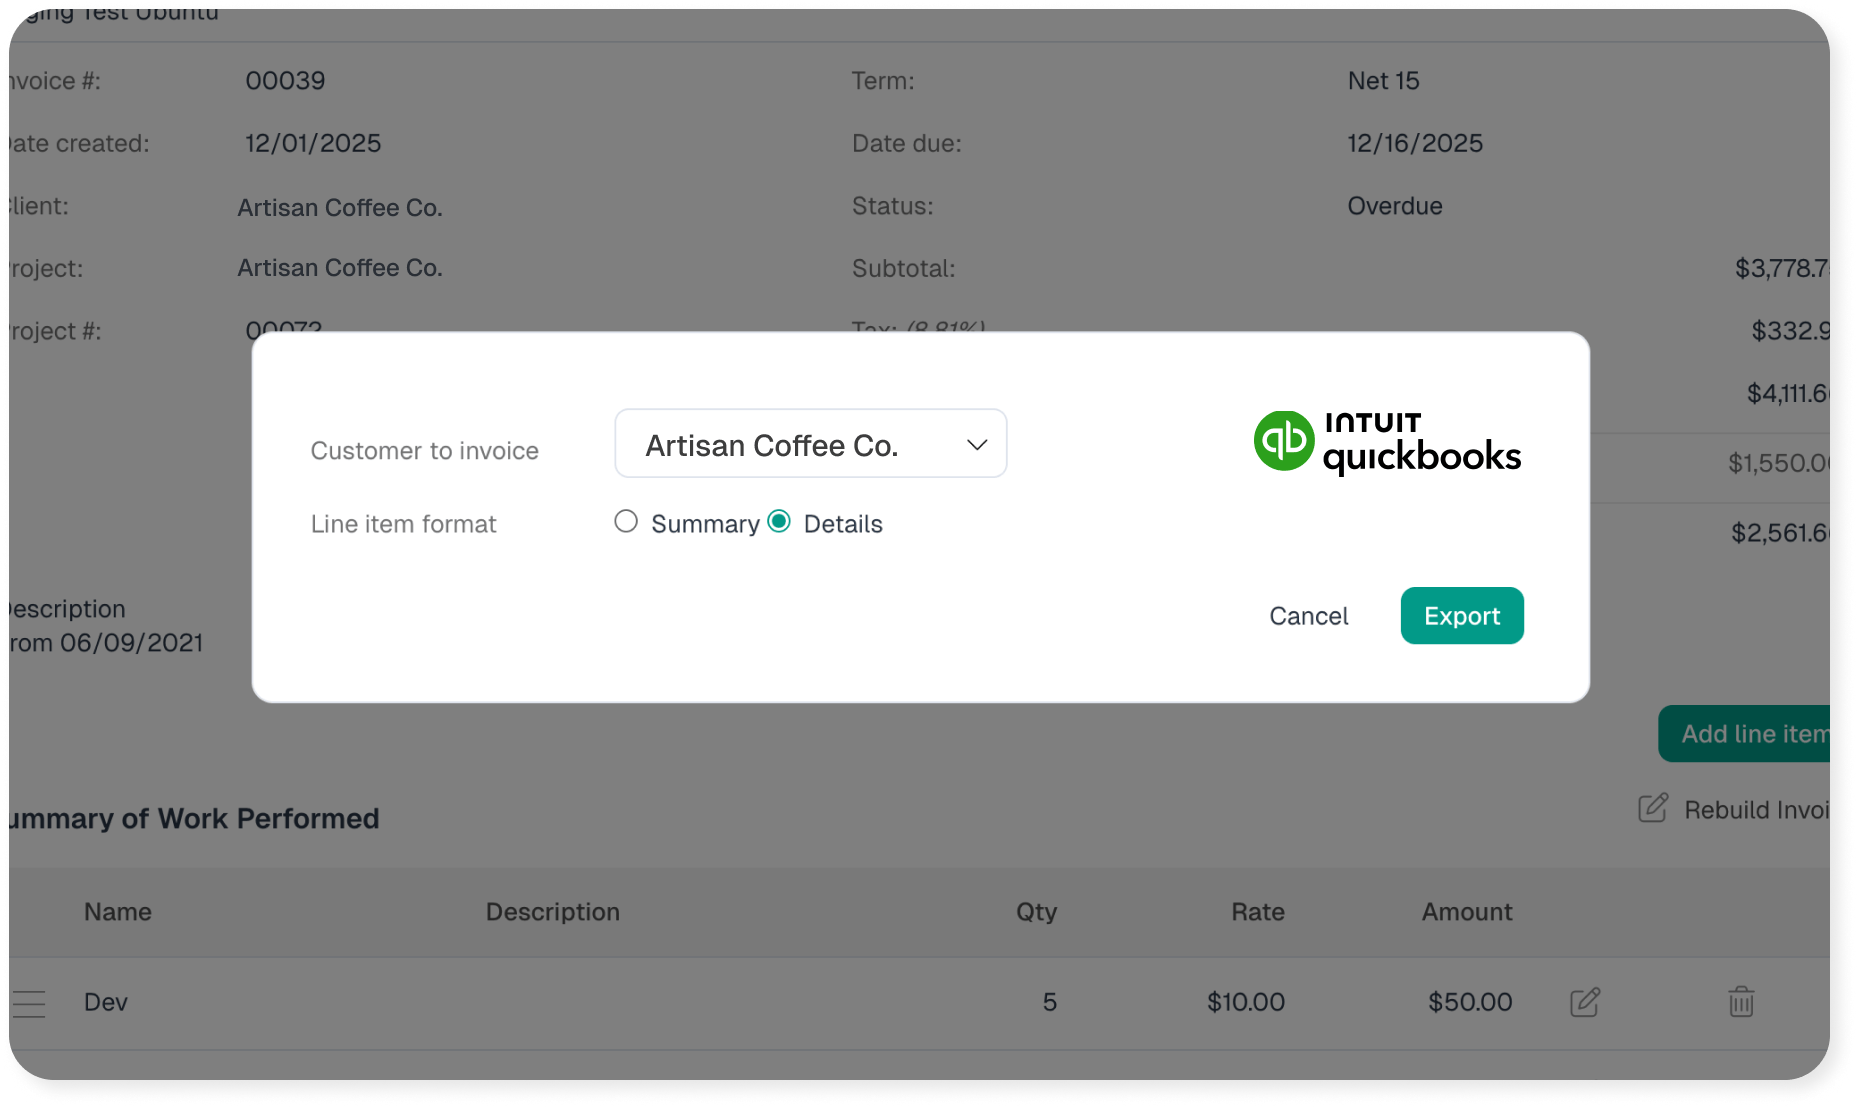
Once you’re satisfied with the preview, save the invoice and export it to your FreshBooks or QuickBooks using the Detail option:
By using the details option, Intervals will push the invoice using line items from the details section. See below for the finished invoice on FreshBooks and QuickBooks:
QuickBooks Online — “Include time entries” checked allows us to connect your service field with QuickBooks.

Freshbooks with included time entries

If you need to show hours, or any other value, change the View By settings to include them. Existing invoices can be “Rebuilt” to grab a different set of items. Simply click the “Rebuild Invoice” link that is located in the summary of the invoice. Doing so will take you back to the invoice builder from above.
For more detailed information about exporting invoices to QuickBooks Online, including field mapping and invoice numbers, please refer to our QuickBooks Online integration guide.
If you have any questions on this feature just let us know.
