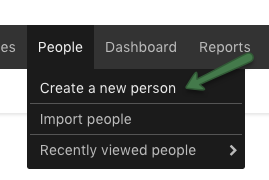
Any Administrator level user can add people. Navigate to People >> Create a new person to start the process. Continue reading for a deeper dive into what the different options mean within Intervals.
Adding a new person flow:
-
- Profile
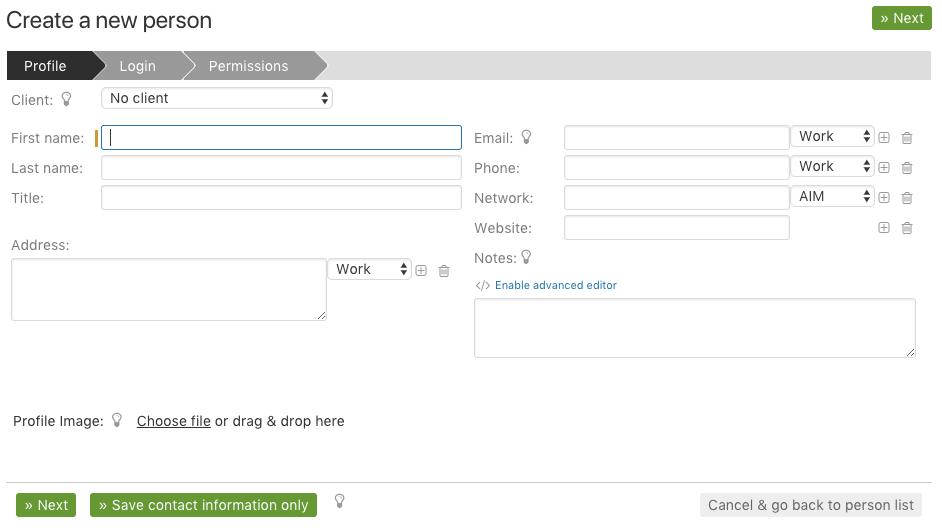
Client: Associating a person with a client, though not required, is useful for grouping them together with others on the client profile page. It also makes people easier to locate by client under the People tab. If you have any concerns about other users viewing this person, use the checkbox to hide their personal contact information.
Please note: the client field does not control whether a person has access to projects under that client. Permissions are contained at the project level and are setup in step 3.
Email: The first email address will be used for all automated email communications from Intervals. This is only required for people who can log in. People who cannot log in are what we call Contacts and they are only able to be seen by Administrators. Any secondary email addresses are not used by Intervals at all and are just meant to be used as additional contact points.
-
- Login
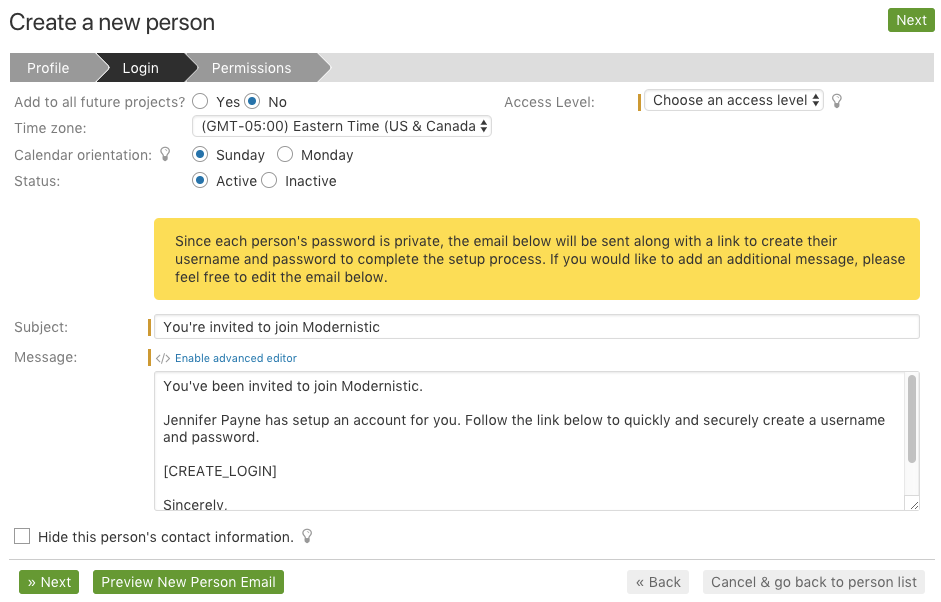
Add to all future projects: Any future projects automatically add people to them if this person has this option set to Yes. This means you won’t have to manually add people every time you create a new project. This is meant to be used for Manager, Resource or Executive level team members who should always be part of any future projects.
Status: Inactive people cannot log in. Some of our customers use this option to disable accounts for people who are no longer with the company. This way, their historical data is preserved, while preventing them from logging in.
Access Level: Access Levels determine what privileges the person will have when they log in. There are four user levels available.
Hide this person’s contact information
Who can see this person and what do they see?
Resources
If checked, resource level users are only able to see this person’s name, profile photo, and title if they share access to at least one project.
Managers
If checked, manager level users are only able to see this person’s name, profile photo, and title if they share access to at least one project.
Administrators
Administrators will be able to see all personal contact information regardless of their project access.
Executives
Executive users never see any contact information for any person and do not have access to the people section. Executive level users can only see this person’s name and profile photo if it appears on task comments.
Please note: due to the collaborative nature of tasks and milestones, people working together (with exception to Executives) will see each others email addresses on shared tasks and milestones even if the person’s information is hidden.
-
- Permissions – AKA Assign Project(s)
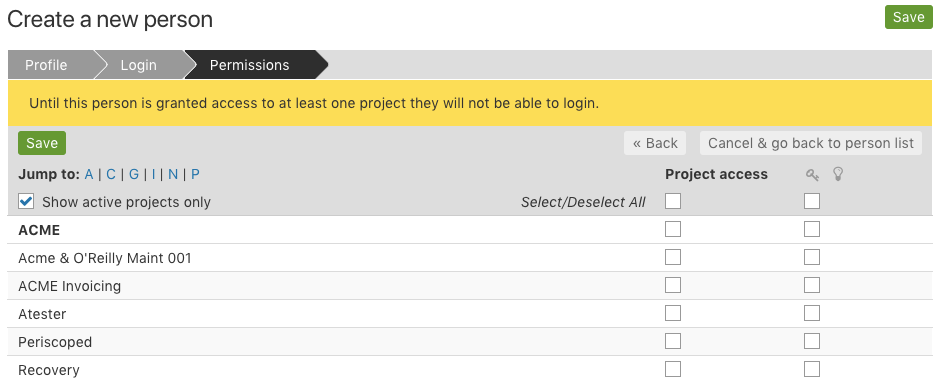
Project Access: Check the box for a client to automatically grant this user access to all projects for a given client. Otherwise, individually select the projects.
Private notes: The second set of checkboxes under the key icon![]() are to give access to private notes. Whenever a note is created, those that have permission to view private notes will have the option to make it private. If you want this user to see and create private notes, check the box for the specific project or client.
are to give access to private notes. Whenever a note is created, those that have permission to view private notes will have the option to make it private. If you want this user to see and create private notes, check the box for the specific project or client.