One of the features that sets Intervals apart is the ability to take a lot of data and filter it down to the desired view. If you need to narrow in and focus on tasks that are assigned to a certain person and certain project by a certain priority and by due date, you can do that. This is true for time data as well. New customers frequently tell us the ability to take a chaotic workload and narrow it down is part of why they chose Intervals.
To further help with this effort, we have overhauled saved filters and renamed them “saved views” to clarify and better reflect the actual functionality. This update includes the ability to schedule delivery of the filter data. This update is a natural evolution of scheduled reports where your favorite report data can be delivered on a schedule that you select.
The save and schedule views feature can accommodate a vast number of uses. Here are a few examples.
- Send me a list of all tasks closed yesterday, each day at 10 AM
- Send me all overdue invoices, every Monday at 8 AM
- Send me a monthly email of all missing timesheets for the previous month
- Send my queue attendants an email that has the work requests that have not been assigned as tasks yet that belong to a certain client, each day at 4 PM.
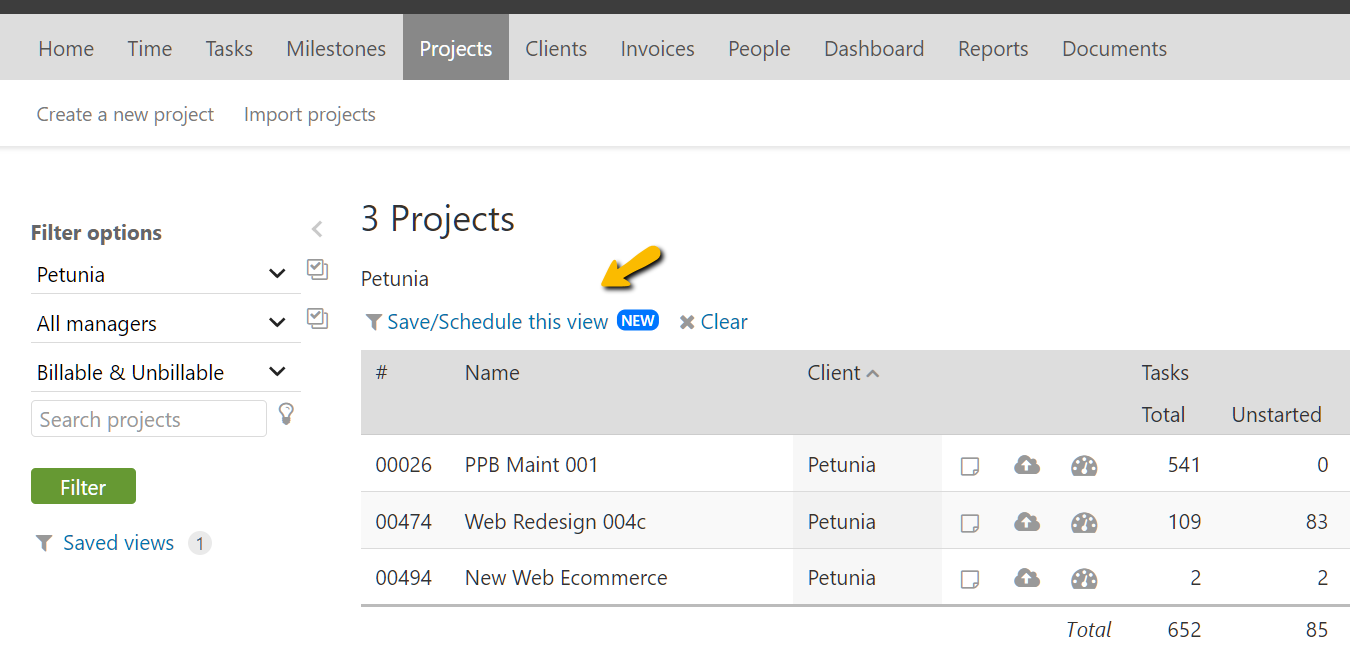
This functionality exists anywhere you see the option to “Save/Schedule this view.”
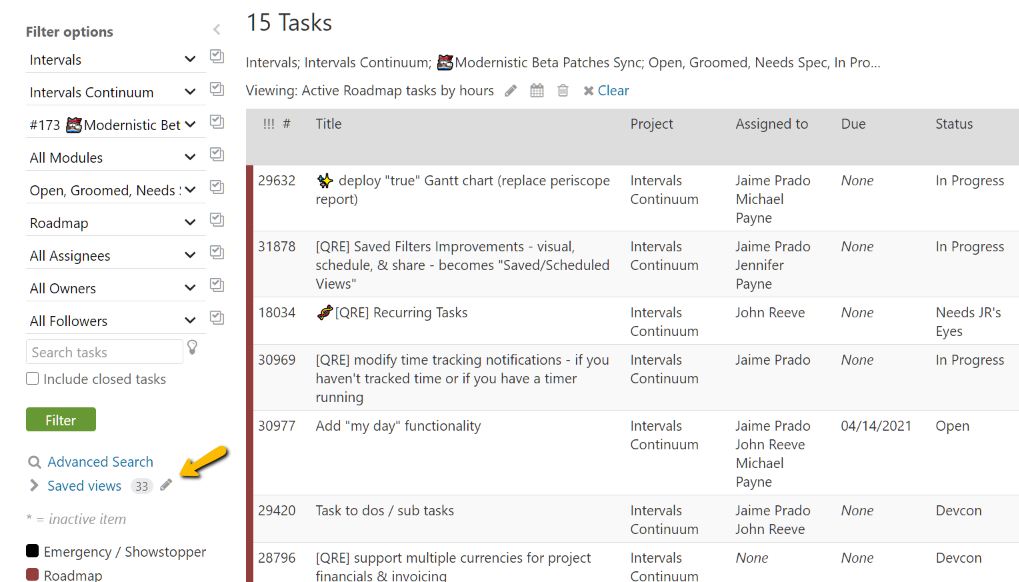
Here are a few screenshots and the steps to set up a scheduled view. Say I want to receive a weekly email that shows all of our current “roadmap tasks” sorted by the actual hours. This email could be used to skim the status of the tasks and the accumulation of hours to prepare for our weekly development meeting.
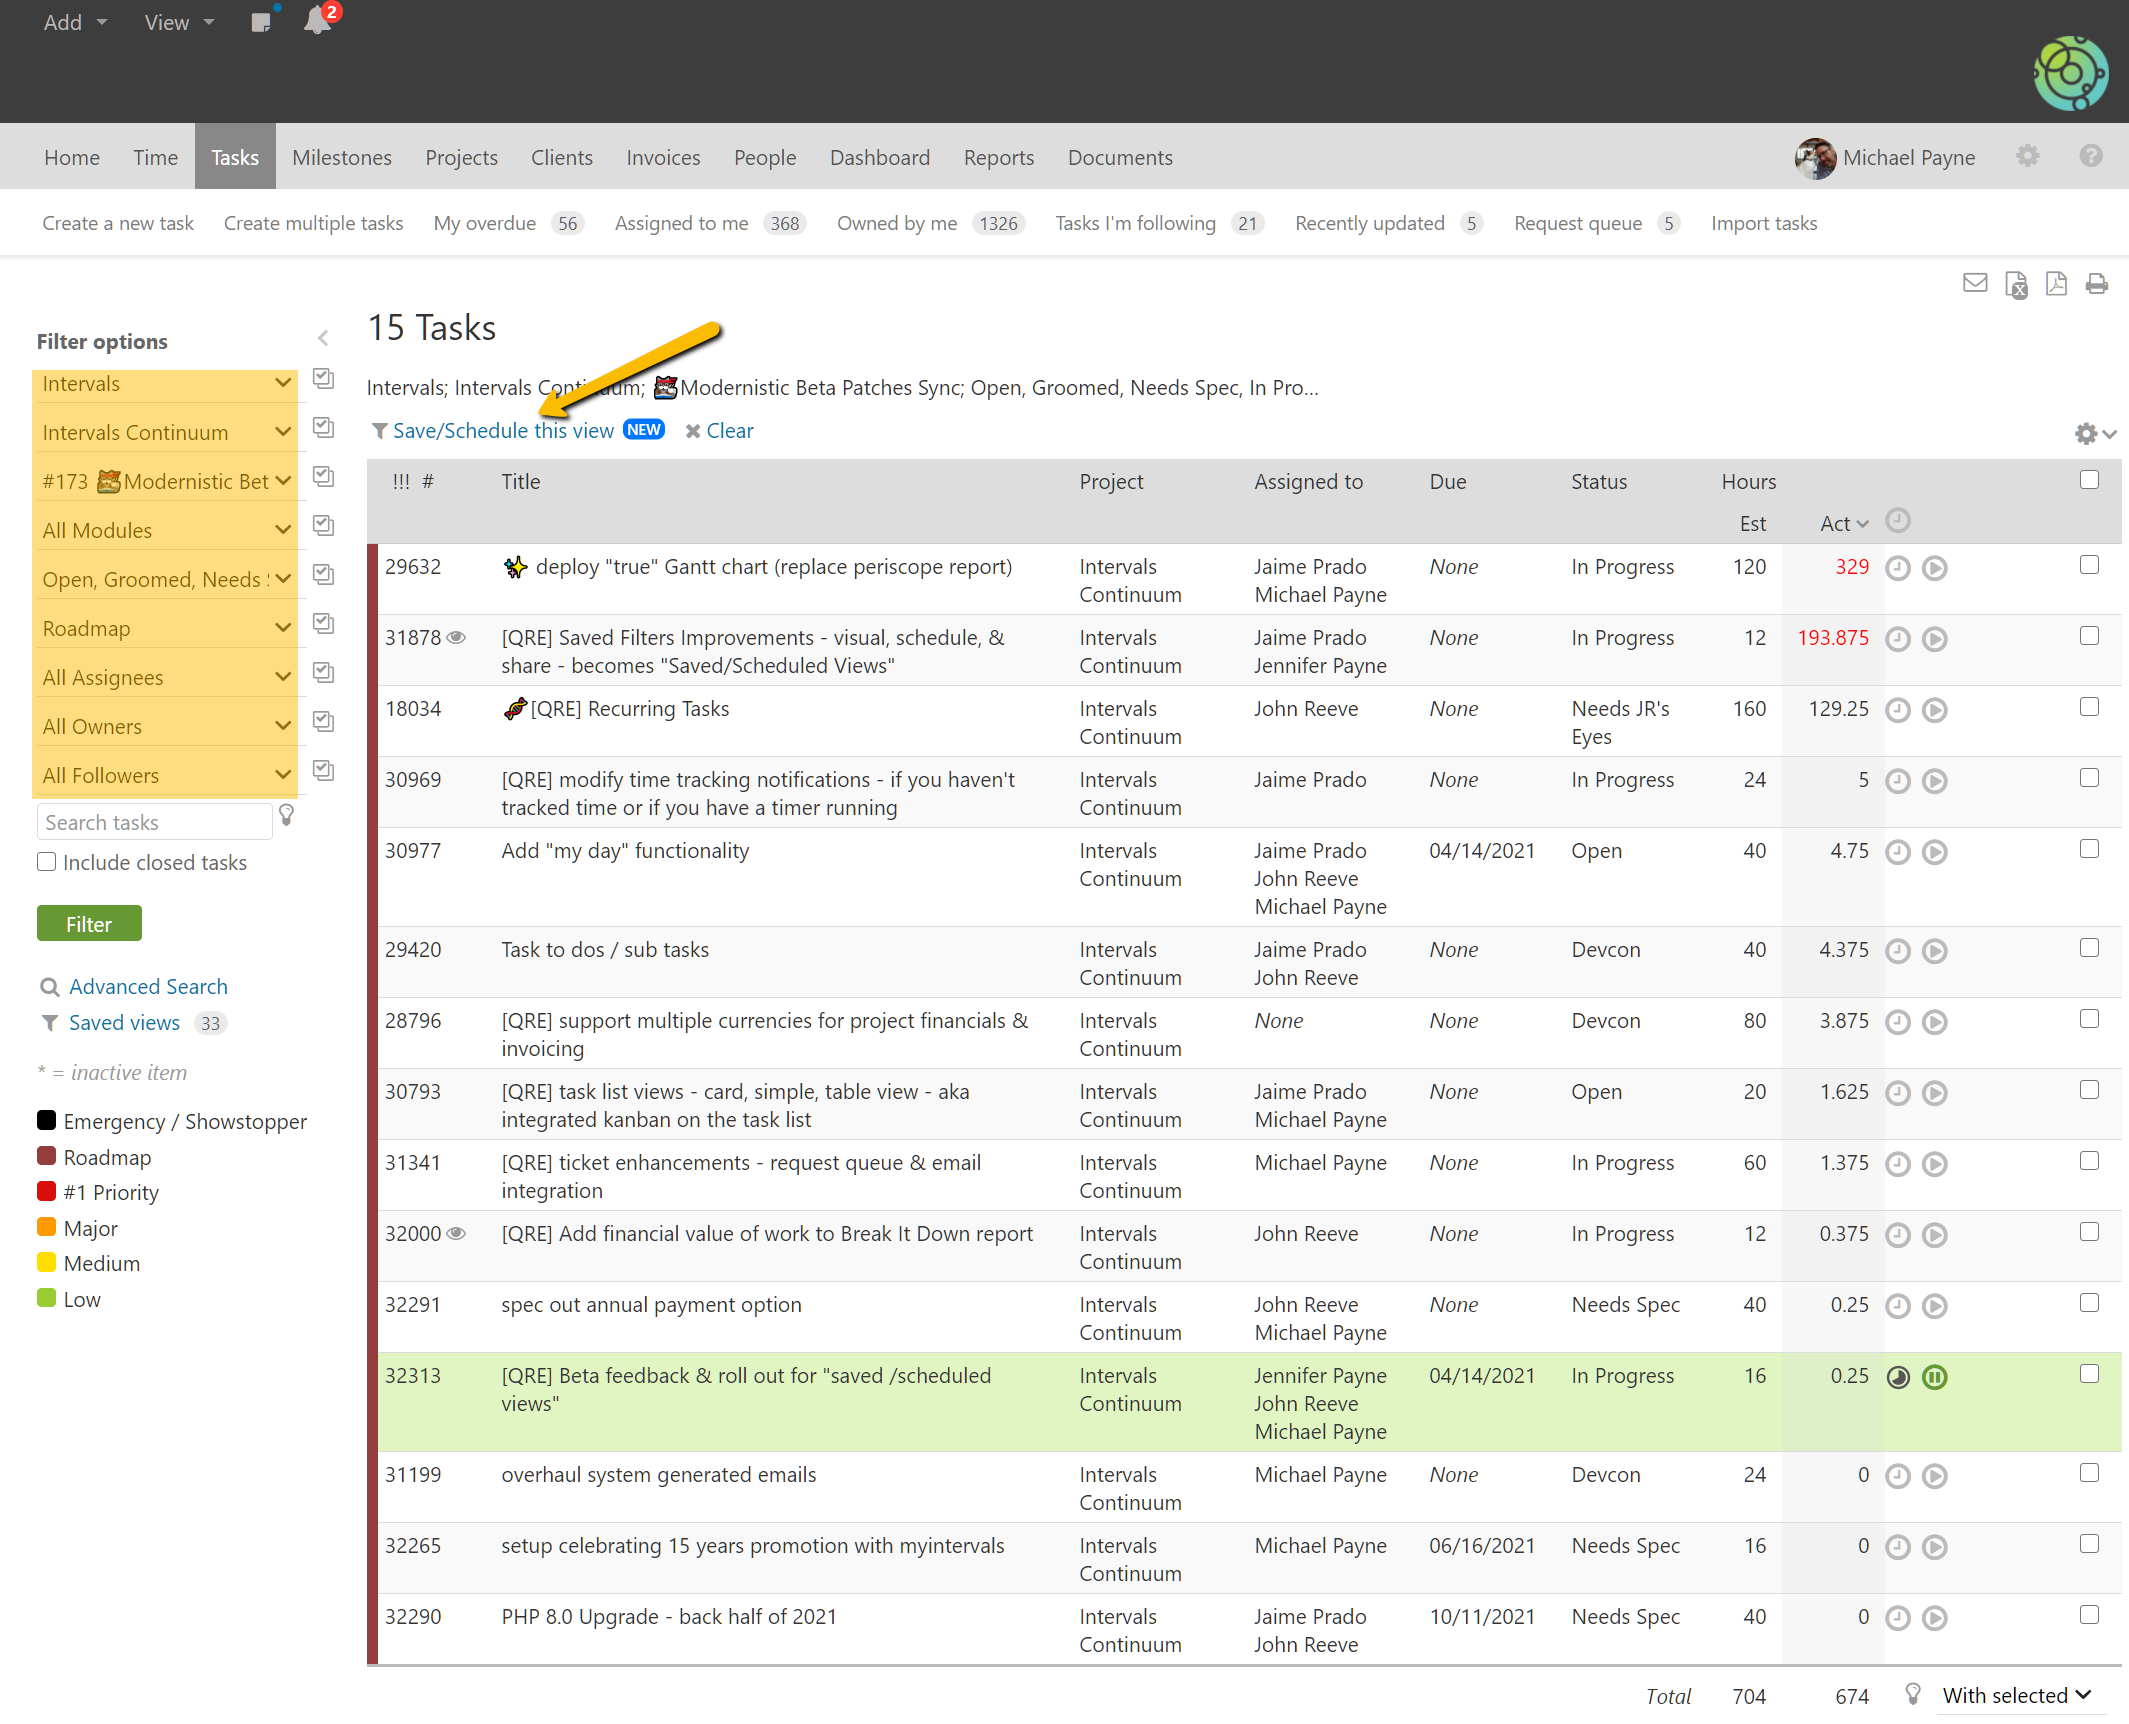
1. Filter the task list to get the desired view and save the view
– Select the desired parameters and click filter to return the desired task list.
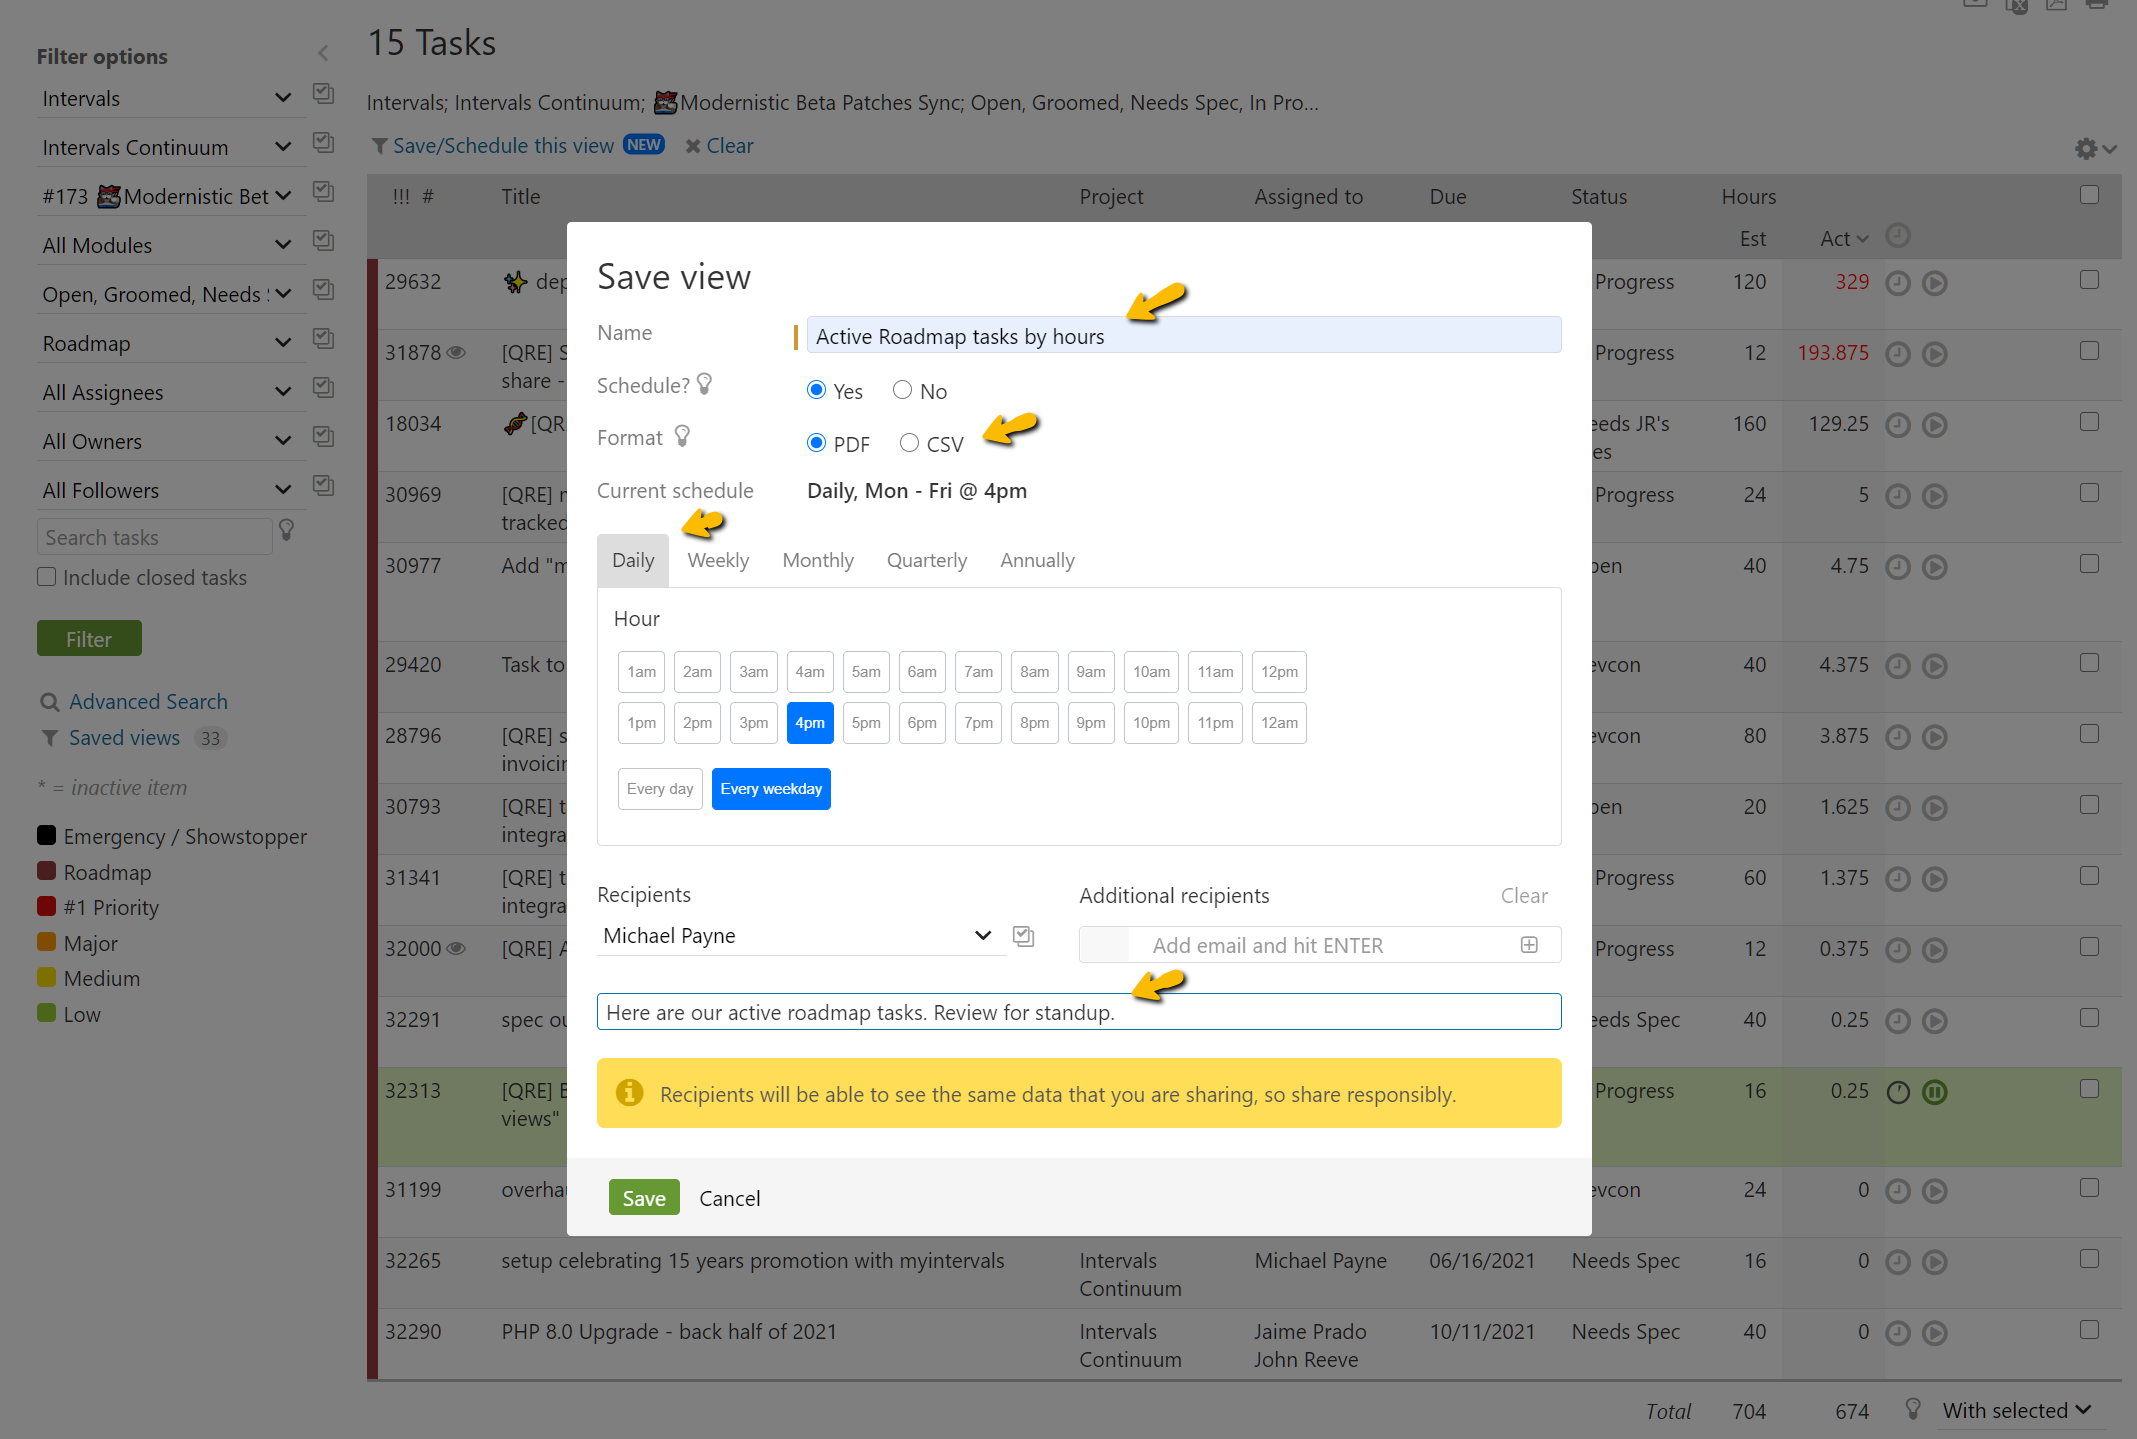
2. Schedule the view for delivery
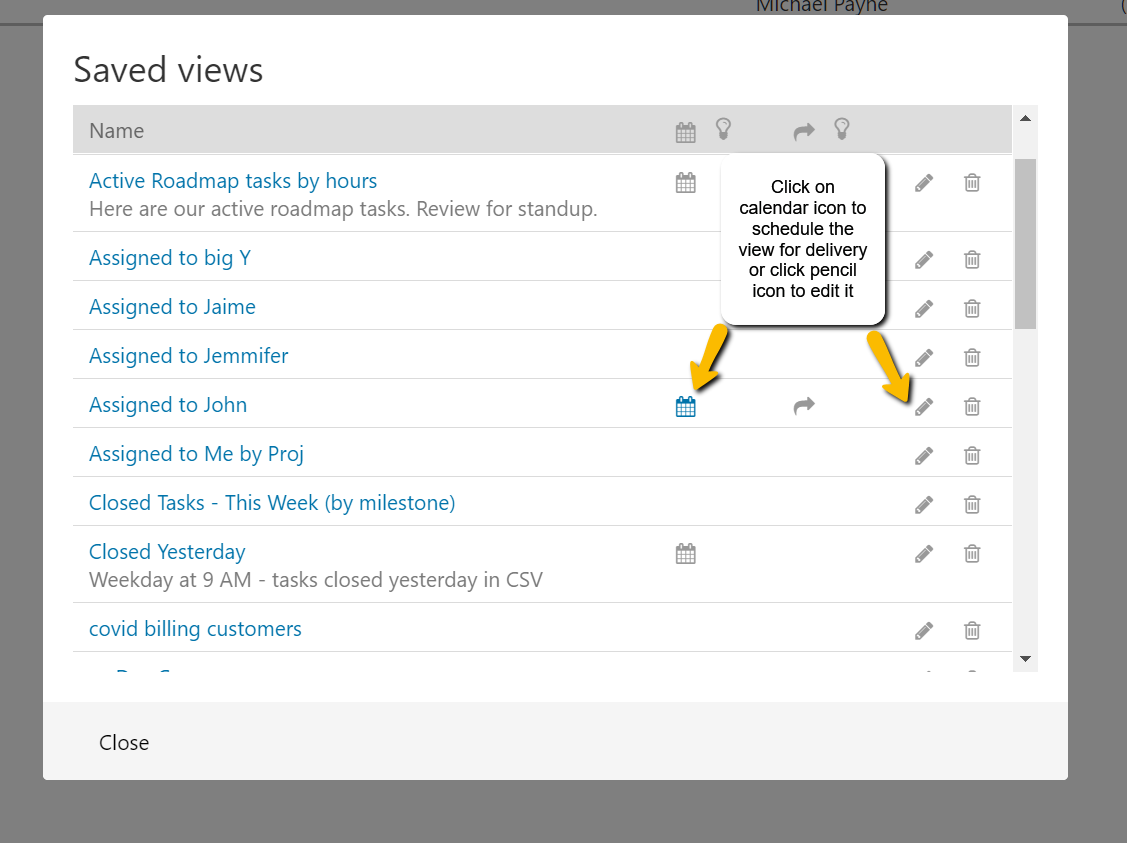
– In this example I will do it daily at 4 PM. Depending on the view that is being saved you will have an option for a PDF or CSV file (raw data can be used in a spreadsheet).
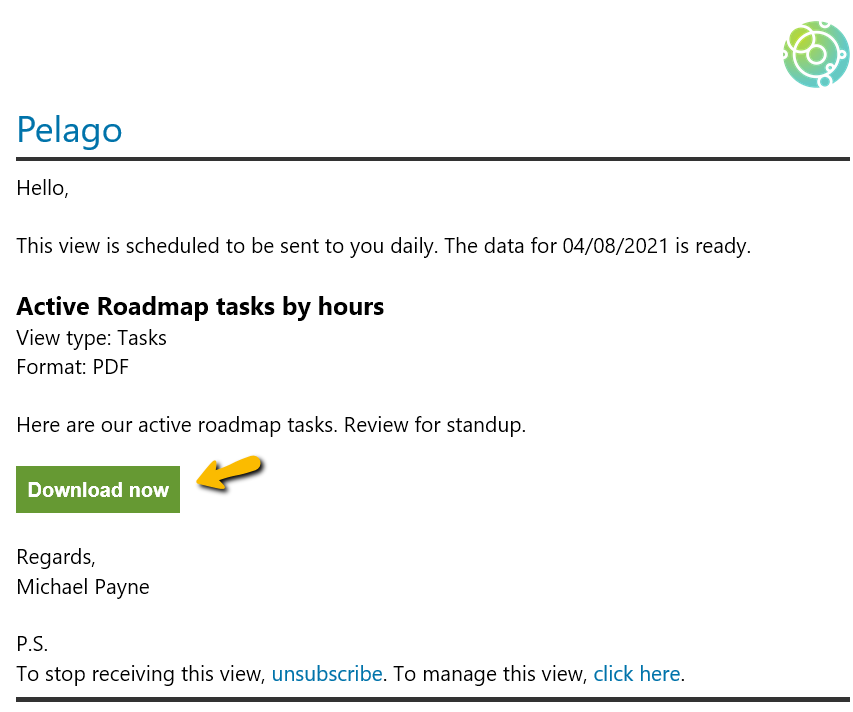
3. Receive an email with a link to download the data
– For this example, when 4 PM rolls around an email will be delivered with a link to view the data.
4. Use or modify the saved view
– As you are working if you need to schedule a saved list for email delivery or need to change the schedule for an already scheduled view, this can be accomplished by clicking on the manage saved views icon.
The possibilities for this feature are almost endless. With saved and scheduled views you can push the data that you like to whomever you like at a schedule of your choosing.
If you have already saved views that you would like to modify and schedule them for delivery, this help article shows how to schedule an already saved view.
For administrator level users, these views can be shared with other administrators as well.
