Overview
Intervals was built out of a ticketing system philosophy where a request can be queued, prioritized and assigned. Here are different ways of working with the request queue:
- POP/IMAP queue: Intervals will check an email account that you control every 10 minutes to convert emails into work requests. Work requests display under Tasks > Request queue. Note: This is helpful for those that already use an email with their customers and want to avoid any disruptions to their current workflow.
- Email Hopper: Each account comes with a unique email address that your clients and your team can use to email work requests. The Hopper functionality also allows emails to be sent directly to tasks and milestones. For examples on emailing directly to these items, see: Email integration within Intervals
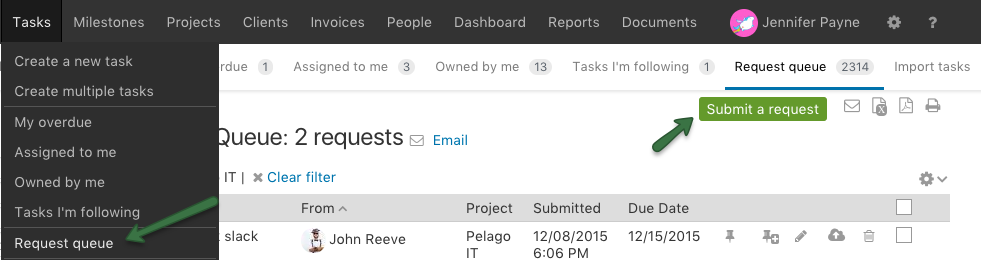
- Create request within Intervals: A user can also create requests by navigating to Tasks > Request queue, and clicking on the ‘Submit a request’ button
1. POP/IMAP queue
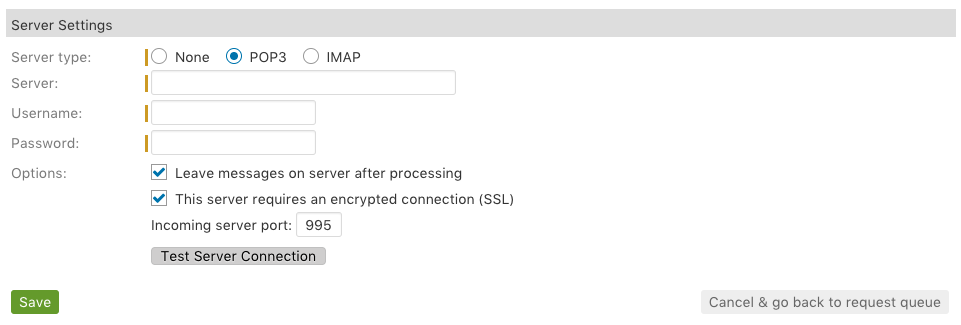
Intervals will check your email account and convert the original email into a work request. The request can be reviewed, prioritized, and assigned as a task. Any documents attached to the original email will become documents within Intervals. Once the request has been turned into a task you can track and record all time and actions taken to execute the original request.
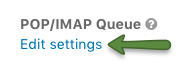
To get started, you’ll need your own email account with POP3 or IMAP access. Navigate to Tasks > Request queue and click on the ‘Edit Settings’ link for the POP/IMAP Queue:
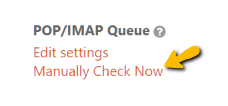
Once you have setup and tested the account, Intervals will start checking the email account every ten minutes for new requests. If you would like to manually check your email account instead of waiting ten minutes, there is an option to “Manually Check Now” to pull in any emails that have not yet been processed.
2. Email Hopper
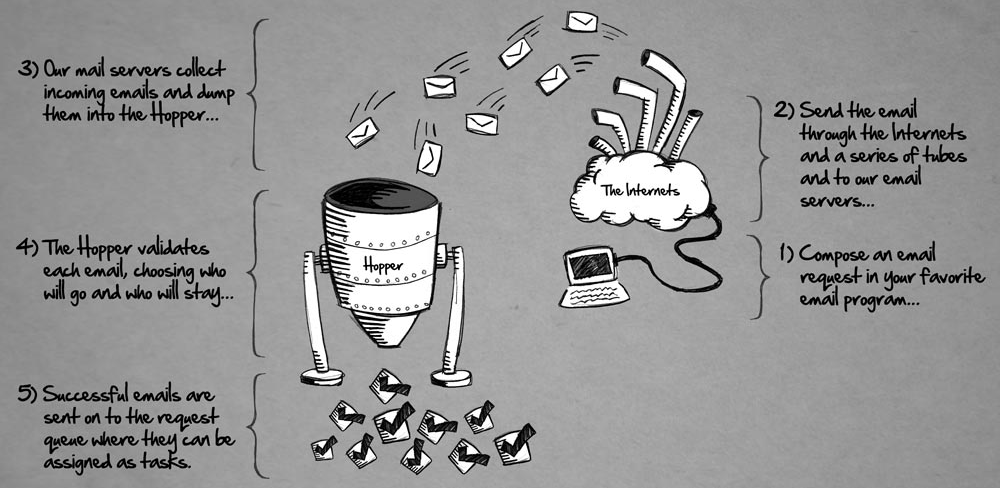
The Hopper alleviates the need to manage a third-party mailbox and does away with entering the mailbox server credentials into your Intervals account. Simply tell your clients and co-workers to start sending their requests to request@your-subdomain.intervalsonline.com, where your-subdomain is replaced with your account’s subdomain, and intervalsonline is replaced with your account domain, and Intervals will do the rest.
Just be sure the people sending in the requests are doing so from an email address that corresponds with a valid client contact, a user with a login, or an email address on the Hopper whitelist. If an email does not make it through the Hopper, the Intervals administrator who is in charge of the account will receive an email with details about why the email failed and how the account can be updated to allow the email through the next time.
How does the Hopper work?
The Hopper is primarily responsible for validating the email address against your account and then breaking out the attachments and inline graphics into documents that will go along with the request once it reaches its destination, be it a task, milestone, or project work request. When an email is sent, the subject becomes the title of the request and the body of the email becomes the request queue item description. Any attached documents will be added as well. To email the request queue just send an email to:
request@your-subdomain.intervalsonline.com (replace your-subdomain.intervalsonline.com with your account’s URL)
To create a request and assign it directly to a project via email, you’ll need the project number and then email to:
request+123@your-subdomain.intervalsonline.com (replace 123 with your project number, and your-subdomain.intervalsonline.com with your account’s URL)
When the project is included, the hopper will check for permissions and only allow those senders who are already part of the project team, create a request. As stated above, the Intervals administrator will be notified if someone tries to create a request for a project they do not have access to.
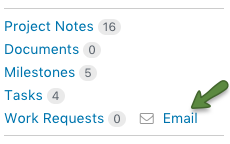
There is a quick way to retrieve a project’s email address. Navigate to the project’s profile under the projects tab and then click the Email link that is located on the left sidebar:
Tasks and milestones can also have comments emailed directly to them. Each task or milestone notification that goes out via email will contain a delimiter at the top of the email. Simply reply to the email and place your notes above the delimiter. The reply to address will be the unique email address for that task or milestone, and the comments you make will be appended as a new comment to that task or milestone.

If you would like to email to a task or milestone directly, simply send an email to it’s unique email address. A task’s email address, for example, would looking something like task+12345@your-subdomain.intervalsonline.com. Or simply click on the email icon in the left sidebar ![]() to start a new email to the task or milestone in your favorite email client. Once the email is sent and received by our mail servers, Intervals will handle the rest. The new comment should appear in just a minute or two.
to start a new email to the task or milestone in your favorite email client. Once the email is sent and received by our mail servers, Intervals will handle the rest. The new comment should appear in just a minute or two.
When a task or milestone is emailed, it’s followers, owners and assignees will receive an email notification, making it much easier to collaborate and keep the project team updated.
Emailing tasks and milestones directly from your inbox is a convenient way to comment on items without having to log into the web interface, or duplicate your efforts. For example, the next time you email a message to a client, use the Cc or Bcc fields in your email program to copy the message to the applicable task or milestone. This not only tracks your correspondence directly on the task or milestone, Intervals also saves you a step by adding the comment for you.
3. Create request within Intervals
Finally, requests can be submitted within Intervals from the Request queue under the Tasks tab:
For an in-depth look into email integration with Intervals check out The Request Queue, Hopper & Email Integration Video below:
The Request Queue, Hopper & Email Integration
Running time: 3:58