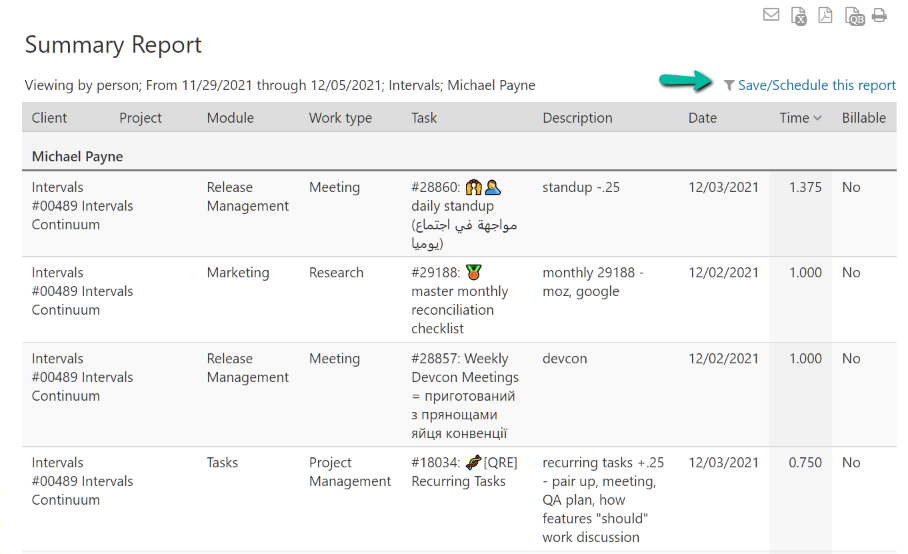
To save a report, first generate the report by clicking on the “Filter” button in the left column. Scroll to the bottom of the report results and click on the “Save this report” link, give it a name and click Save. Saved reports can now be accessed at anytime and the filters will not need to be recreated each time you log in.

Note: When generating the report, the email icon in the upper right corner can be used to email the contents of the report to anyone you would like.
There are a couple different ways to access saved reports.
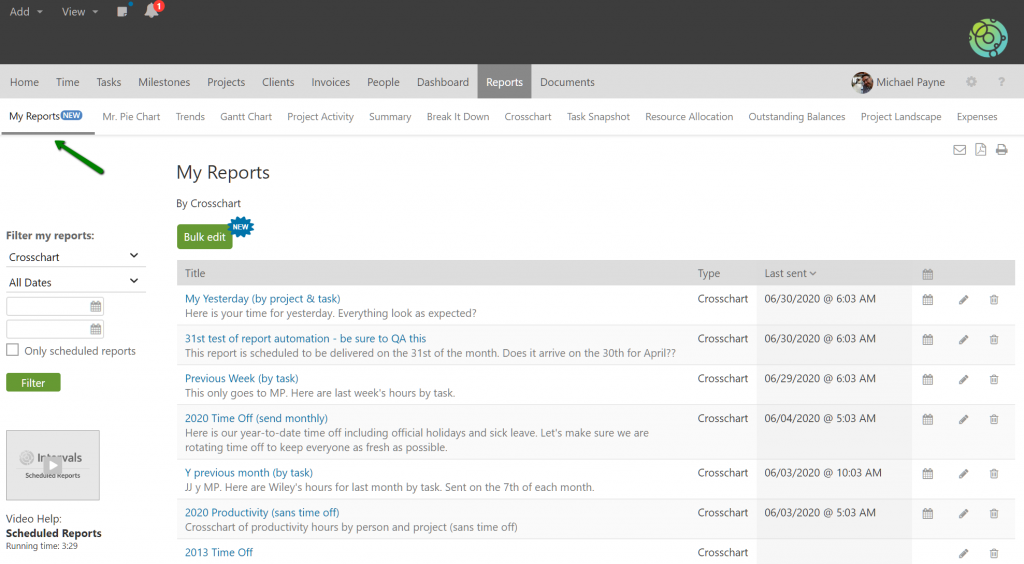
- The My Reports page is the central home for all saved reports. It can be used to view, edit or delete your saved reports.
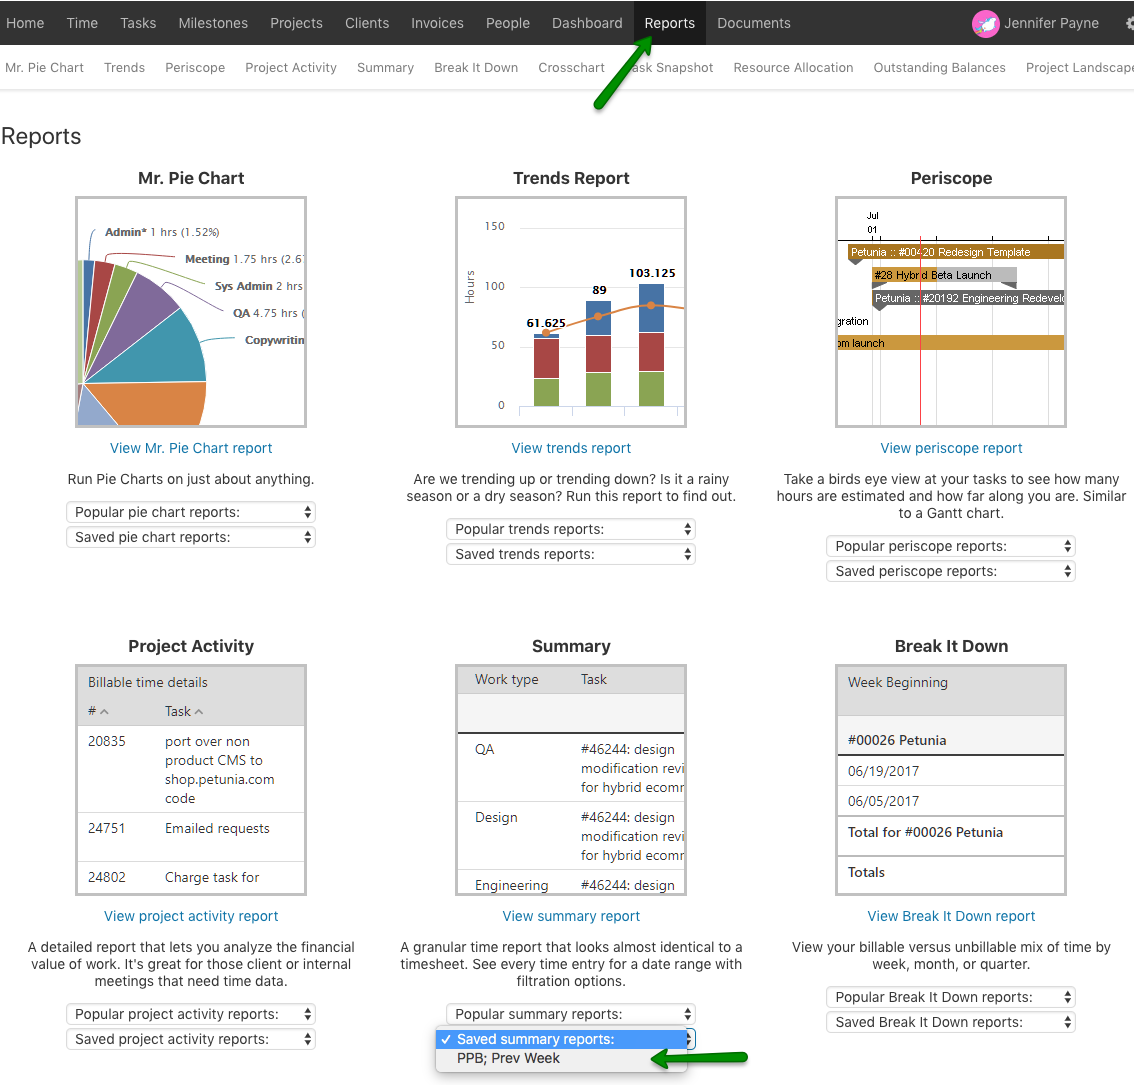
- Navigate to the Reports Page and select the saved report from the drop down for that particular report.
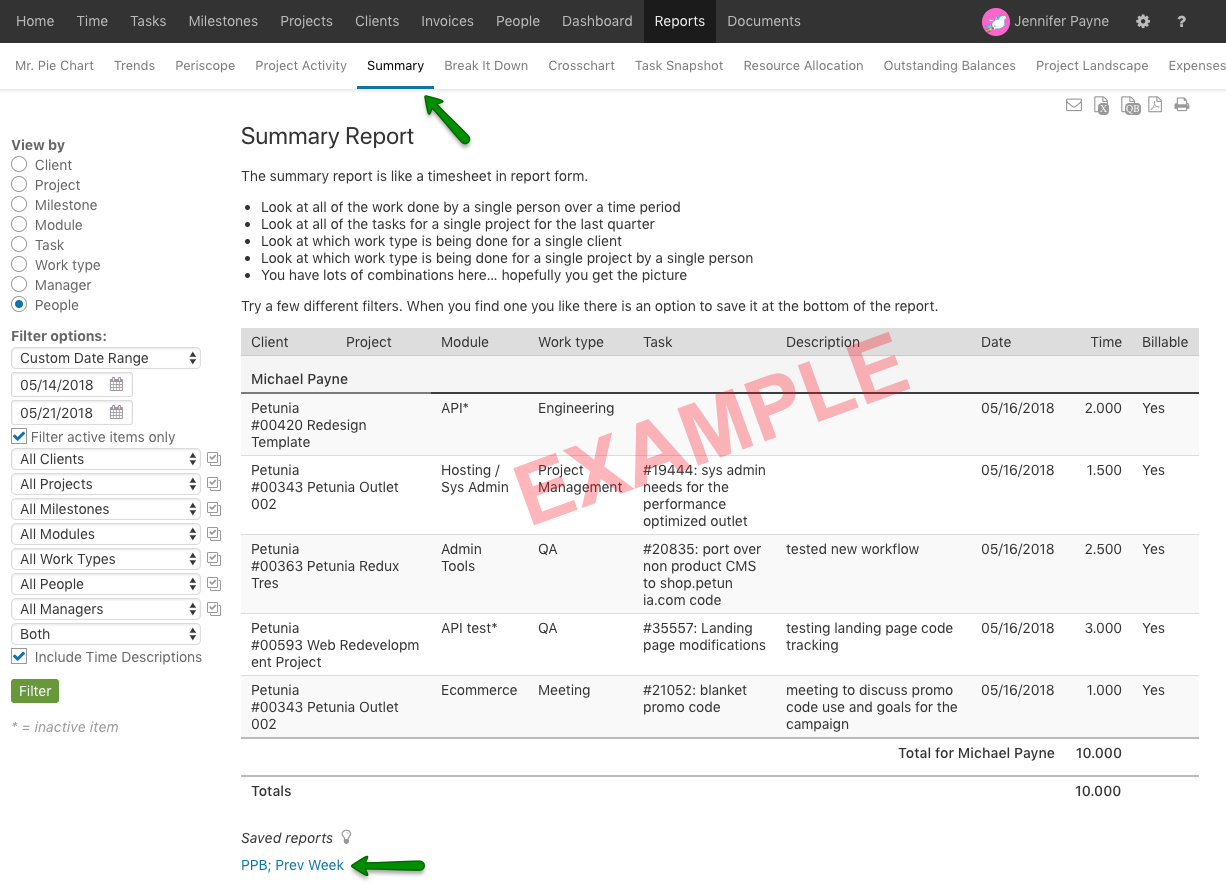
- Navigate to the particular report page and click on the saved reports link at the bottom of the page.
The date ranges selected from the drop down for the saved report are relative, so if you saved “previous week” or “previous month,” for example, when you run those saved reports, you will always see the current previous week or month. If you input specific dates for your saved reports, you will see the data for those specific days each time the saved report is run.
Note: If you are an administrator level user, saved reports can be shared with other administrators.


