The work request queue is temporary holding place for collecting incoming client requests. They are stored here until they can be assigned as a new task or appended to an existing task.
A request queue attendant can be any person or persons in your account that should have access to the queue, and should be notified when a new work request arrives. Access to the queue grants them the ability to assign incoming work requests as tasks or append them to existing tasks. This help article shows how to select the attendants and describes how they will be notified based on the type of work request.
Selecting Queue Attendants
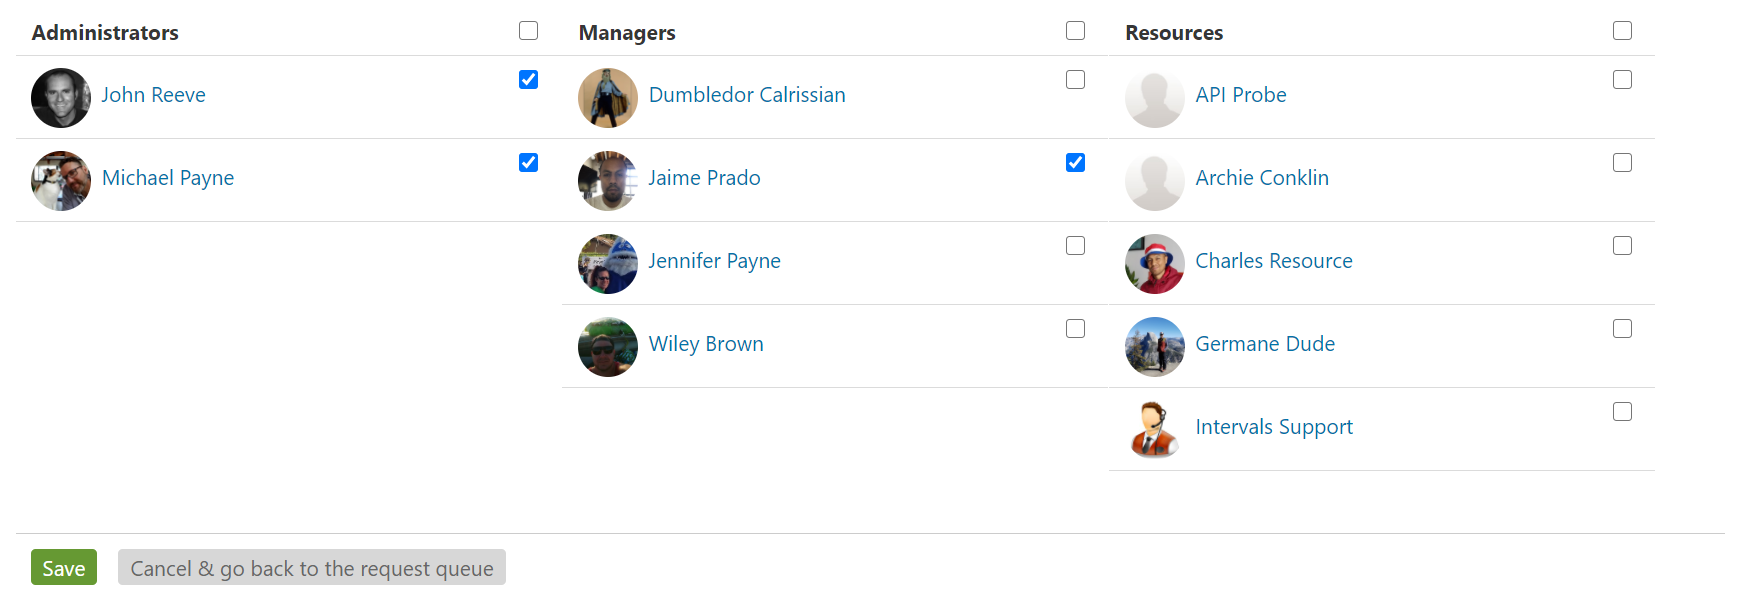
To manage the work request queue attendants, click on Tasks → Request queue → Manage attendants. Check the box next to each person you want to be notified. Then click Save.
There is one caveat. Administrators will always have access to the request queue even if they aren’t selected on this list. However, they will not receive notifications of incoming work requests unless they are selected.
How General Request Notifications Work
When a work request is sent to request@ it is considered a general request and is not affiliated with any project. This method is ideal for fielding work requests from clients that may or may not be affiliated with a project. Any person that’s been selected as a queue attendant will automatically be notified of each incoming request and be able to view and assign them as tasks.
How Project-specific Request Notifications Work
Requests for work can also be sent to a project specific address, like request+123@. These may be work requests for an already established project where controlling access is more important. In this case, notifications and access are treated differently. For these incoming work requests, only the project manager(s) for that project will be notified and only persons with access to that project will be able to view and assign the requests as tasks.
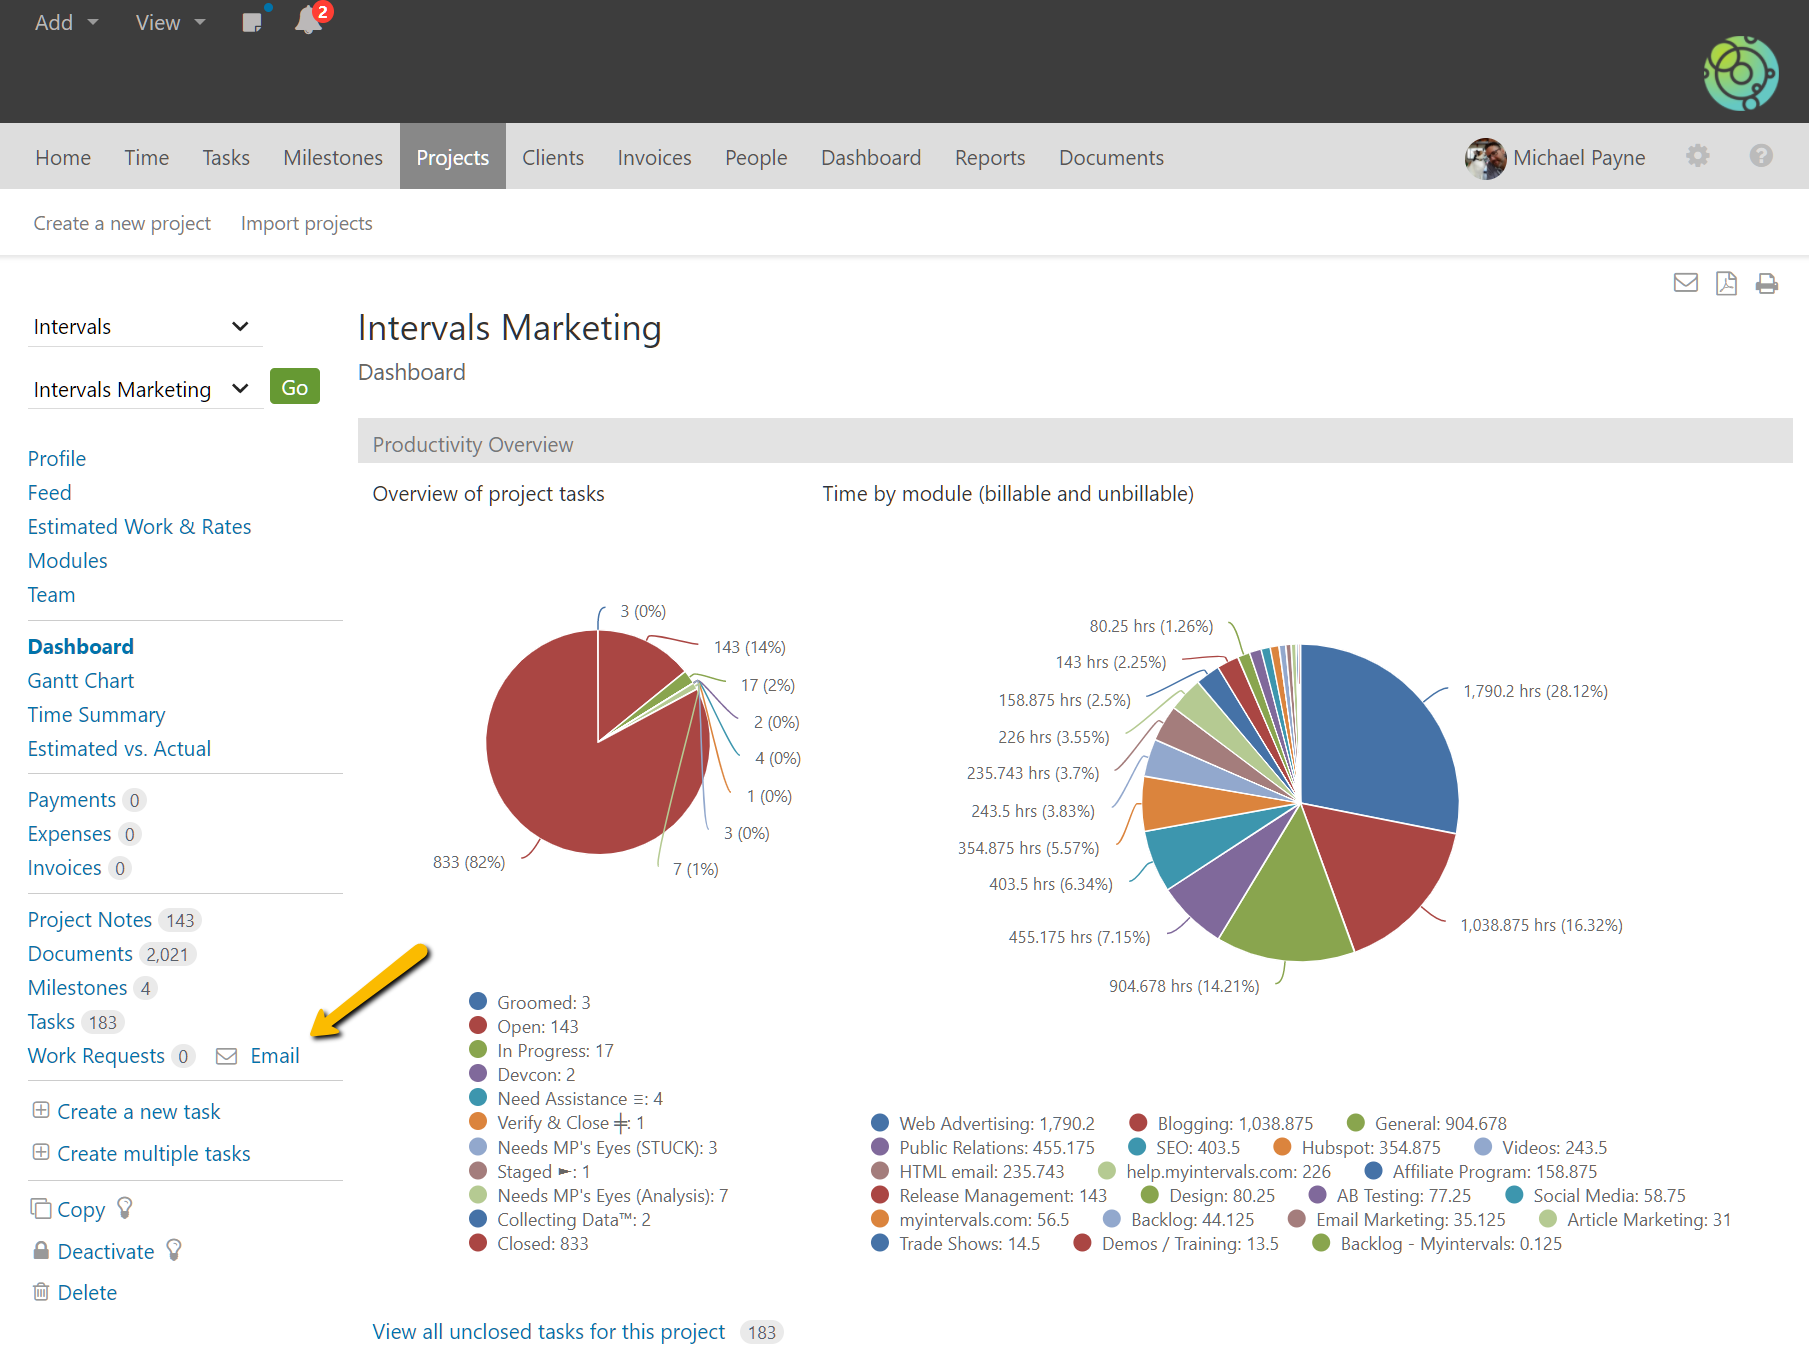
The request queue email address associated with a project can be found by navigating to the project in the projects section and clicking on the “Email” link.

More information about emailing tasks and requests to specific projects is covered in this help article.
